portier®VISION calls locking systems and other locking setups "Installations".
Electronic access systems, collections of related keys (e.g. display cases, padlocks, special locking sets) can all be Installations. You decide which locks belong together and form one Installation.
Typically an Installation is a locking system with cylinders and associated keys, including functional or master keys. Modern locking systems often also include transponders and/or mechanical keys with a chip attachment (mechatronic).
A matrix shows which keys open which locks (locking plan). portier®VISION lets you map and manage these Installations accurately.
Cylinders (and electronic readers) belonging to an Installation are usually fitted in one or more buildings. You can manage Buildings in portier® as well.
"Buildings" are the actual physical structures you manage. Halls on a site or floors in an office complex can also be managed as separate Buildings (e.g. tenanted floors in an office building).
When you open an Installation for editing, your access rights cover all cylinders in that Installation, regardless of which Building they are in. When you activate a Building, you have access (subject to your rights) to all cylinders installed there, regardless of which Installation they belong to.
Note: If you have only one Building / one Installation, you can skip this chapter.
Note: To create a new Building or Installation you must be logged in as Supervisor or Administrator.

You can always see whether you are currently in an Installation or a Building in the status bar at the bottom of the screen.
Note: To create a new Building, you must be in an Installation. To create a new Installation, you must be in a Building. As Supervisor you can create either at any time in the Supervisor module.

Switch between Installations and Buildings by clicking the Switch Installation and Building button in the toolbar. In the selection window, double-click the entry you want.
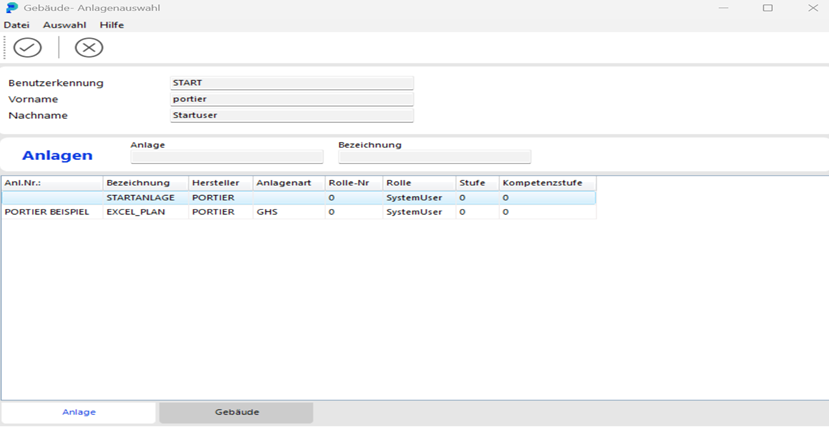
Alternatively, single-click the desired Building / Installation, then click Select Building or Select Installation.
In the ADMINISTRATION / INSTALLATION module, click ADD RECORD in the toolbar. The Installation window opens.
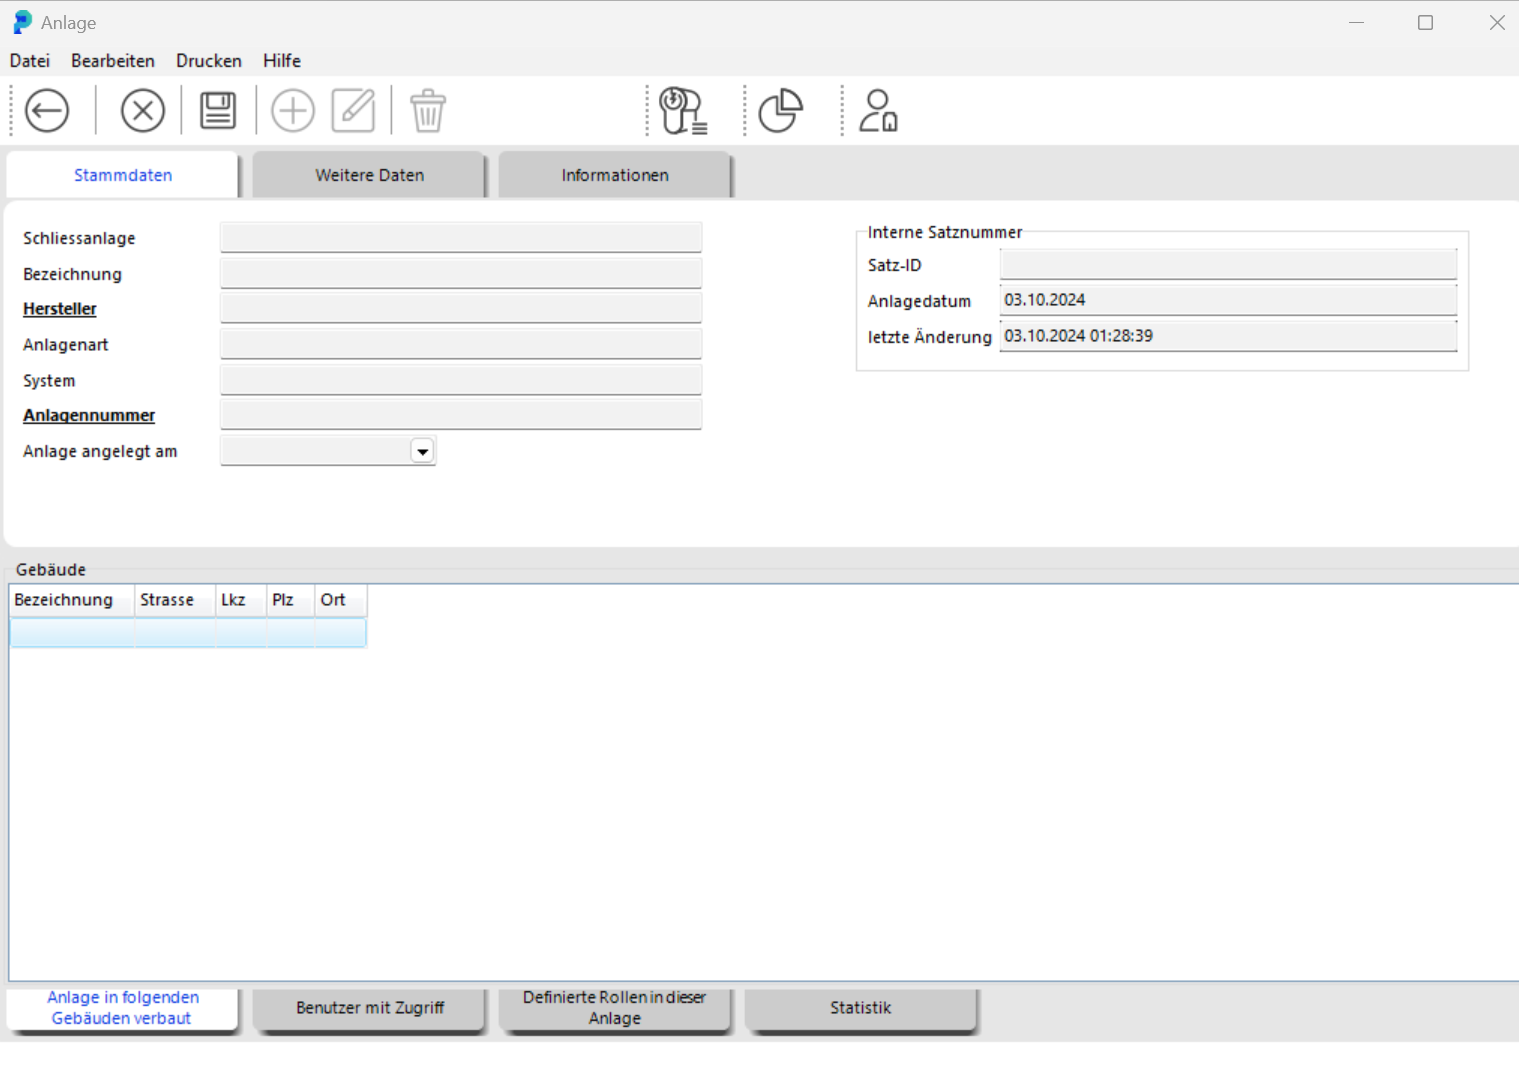
Enter the details of the new Installation. Required fields are shown in bold. portier®VISION needs the Manufacturer and Installation Number fields to handle future imports correctly.


Save the new Installation data by clicking SAVE, then close the window by clicking BACK. The data is also saved if you click BACK directly.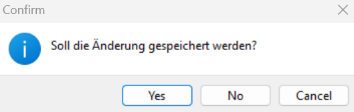
In that case, confirm the security prompt with Yes. Creating a new Building works the same way.

In the ADMINISTRATION / INSTALLATION module, click SEARCH to display all Installations and Buildings. Select the desired Installation and click EDIT, or double-click it. The Installation window opens. Click EDIT to modify the data.

Save changes by clicking SAVE, then close by clicking BACK.
The data is also saved if you click BACK directly. Confirm the security prompt with Yes. Editing a Building works the same way.

To delete an Installation, click DELETE INSTALLATION. A security prompt appears.
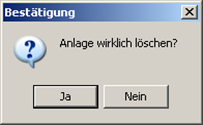
Confirm with Yes. If keys are still assigned to the Installation, it cannot be deleted and you will see a corresponding message.

Deleting a Building works the same way.

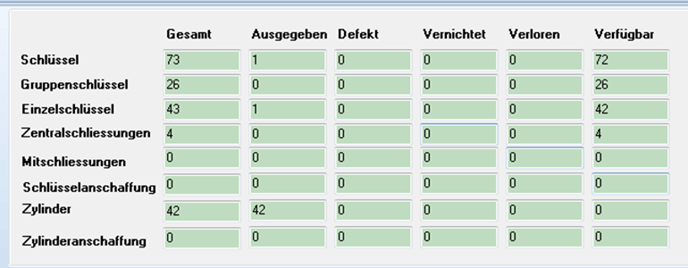
With an Installation open for editing, click the Statistics button or the Statistics tab to see an overview of keys, cylinders, and their status.
With an Installation open for editing, four tabs appear at the bottom of the window.

The Installations in the Following Buildings tab shows in which Buildings the current Installation's cylinders are fitted.
The Users with Access tab shows which users have access to the current Installation.
The Defined Roles in this Installation tab shows which roles are defined for which users in the current Installation.
The Statistics tab shows an overview of keys and cylinders and their status.