At delivery, the username is START and the password is also START. See the Users chapter below for instructions on creating new users.
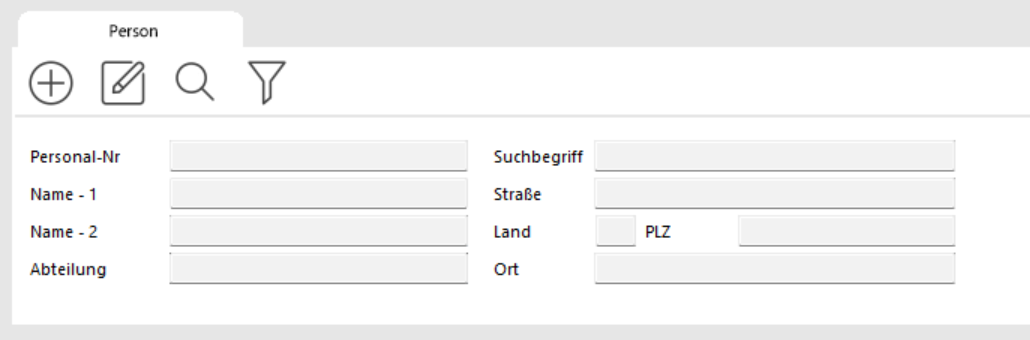
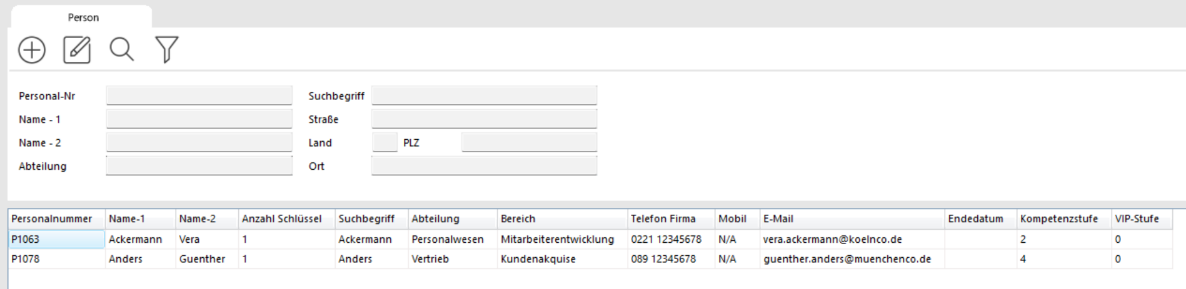
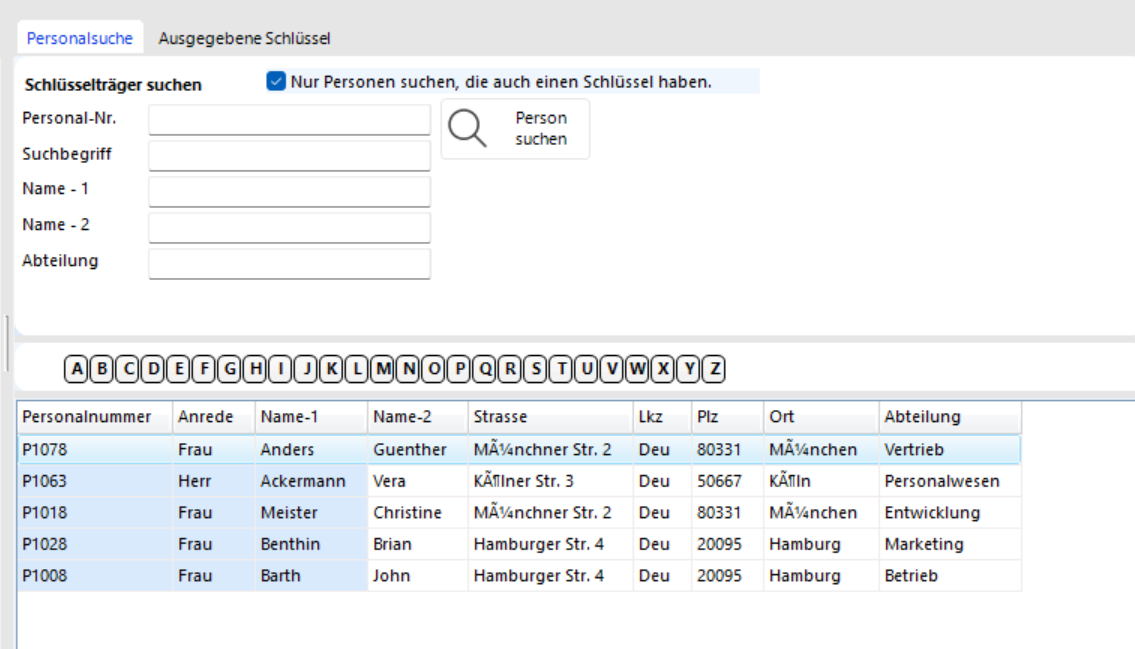
In the ADMINISTRATION / PERSONNEL module, enter the key holder's name in the NAME – 1 search field (first few letters of the last name are enough) and click SEARCH.
A results list appears.

Find the key recipient and drag them to the ISSUE button.
If the person is not yet in the system, click Add Record, enter the person, save, and press F5.
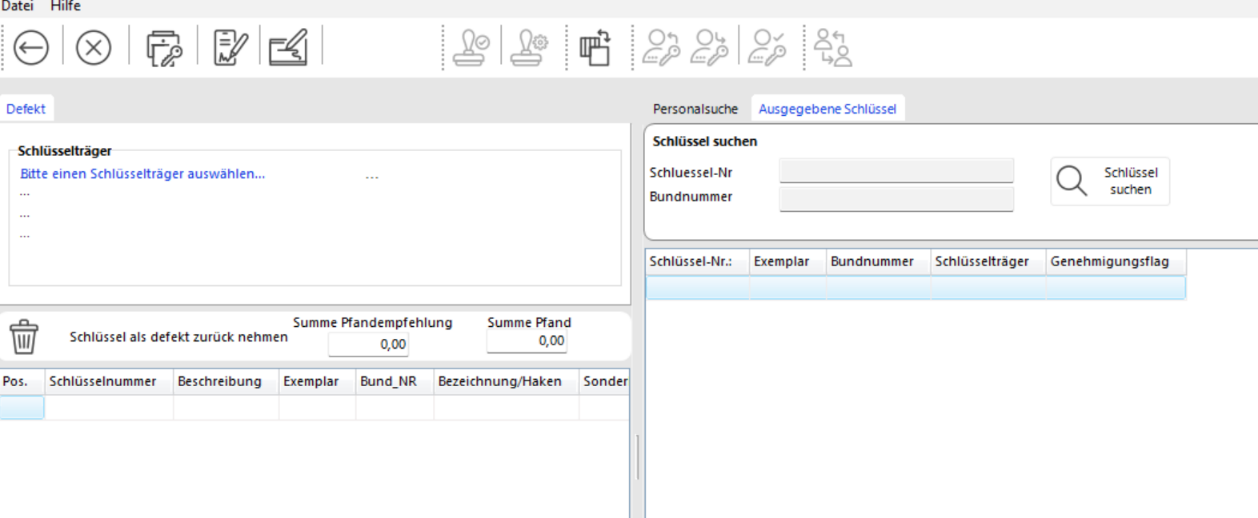
The KEY MOVEMENTS window opens.
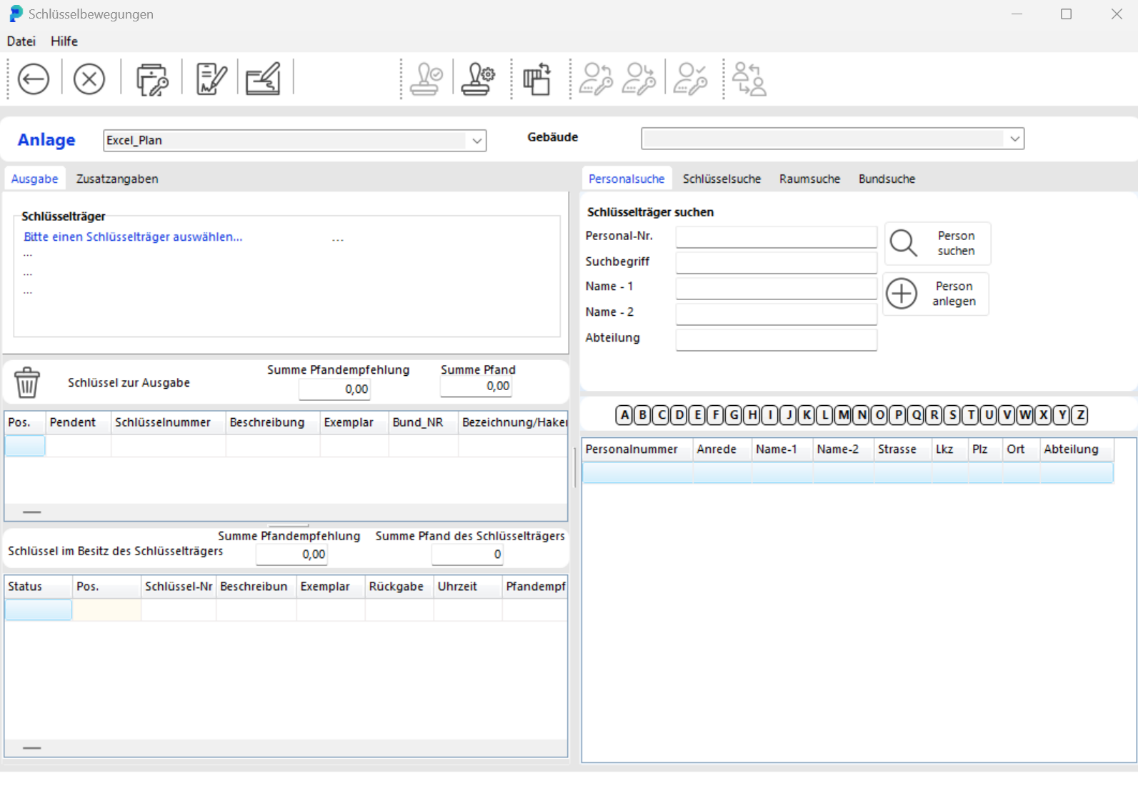
The key recipient's data is already filled in. On the right side, under the Key Search tab, enter the first characters of the key number and click SEARCH FOR KEY. A results list of matching keys appears. Click the key to issue. Available copies appear at the bottom of the window.
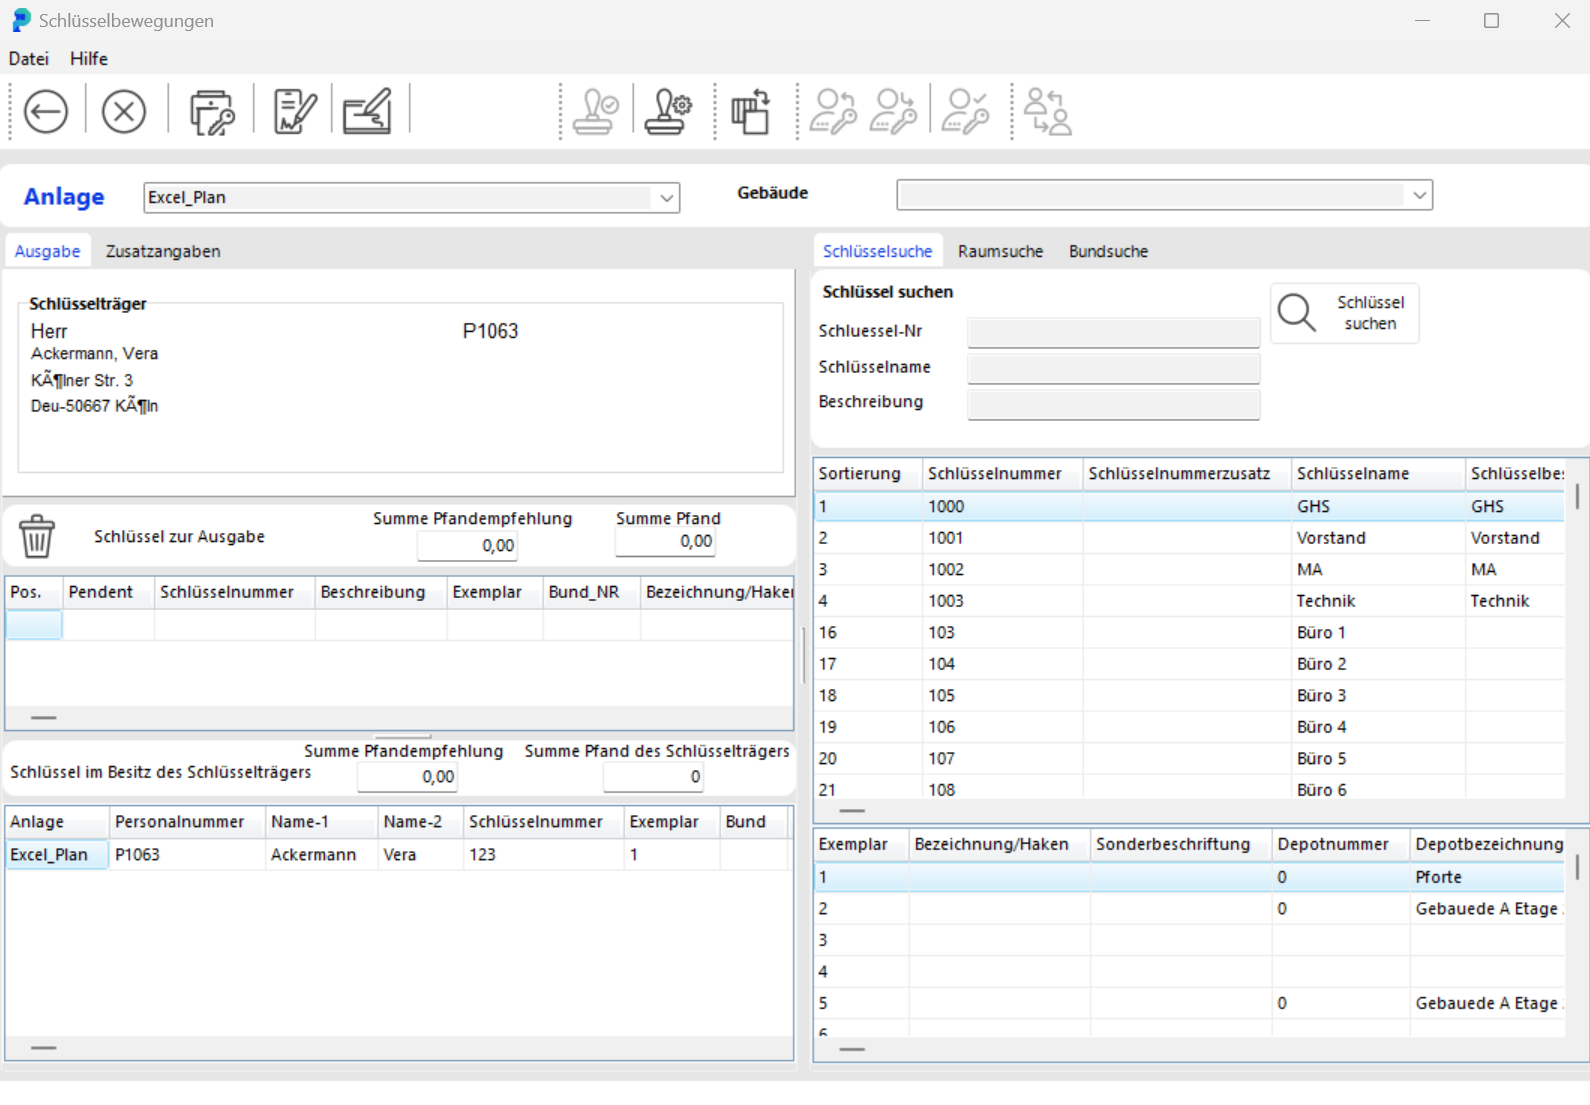
Double-click the copy to issue. The key data transfers to the left section (Keys to Issue). portier®VISION manages issuances down to the individual copy. If your copies are correctly numbered, select the exact copy you are issuing. Date and time are filled in automatically. Complete any remaining data (e.g. return date).
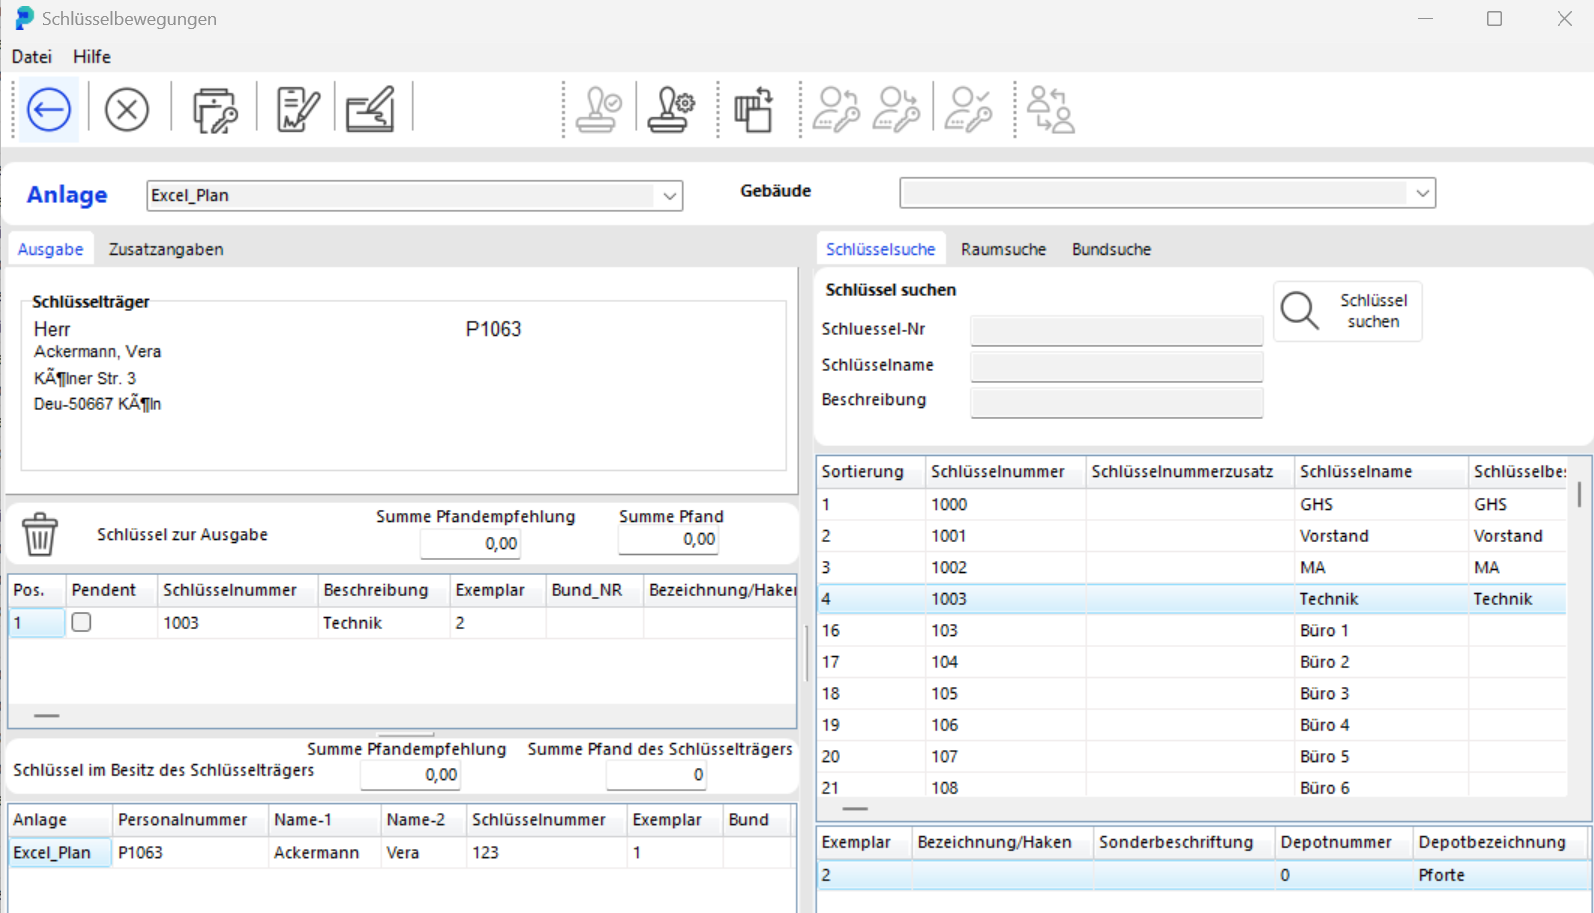
Post the issuance by clicking the DISK button, or if a DigiPad is connected, use the button next to it:

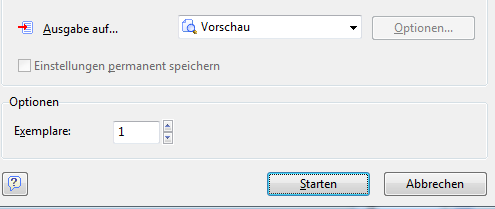
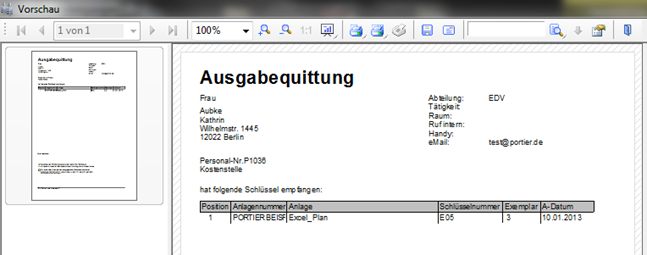
The receipt prints automatically. If the print preview is enabled, the ISSUANCE SETTINGS window opens.
Click START to preview the issuance receipt.
How to Return a Key
In the ADMINISTRATION / PERSONNEL module, enter the key holder's name in NAME – 1 and click SEARCH. A results list appears.
Find the key holder and drag them to the RETURN button (DRAG & DROP). The KEY MOVEMENTS window opens.
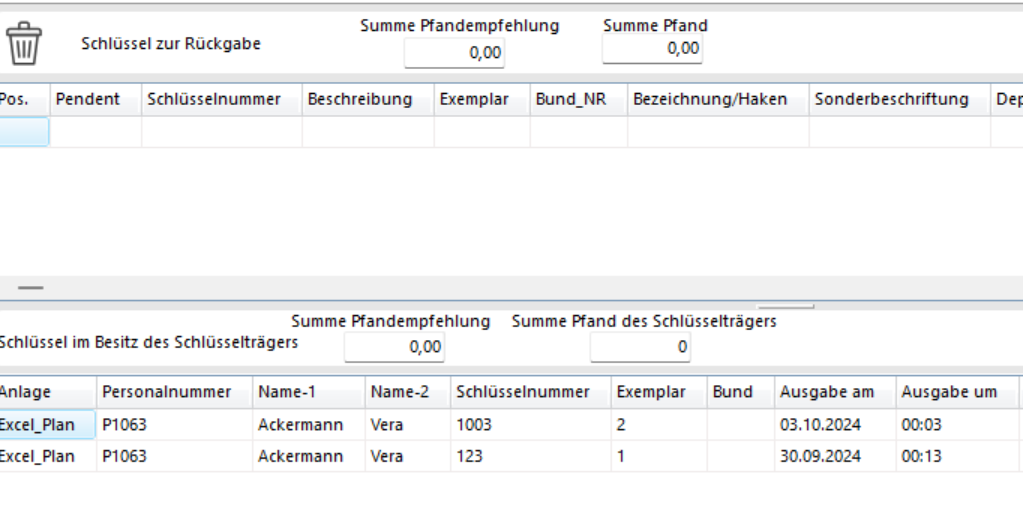
The key holder's data is already filled in. The keys they currently hold appear at the bottom of the window.
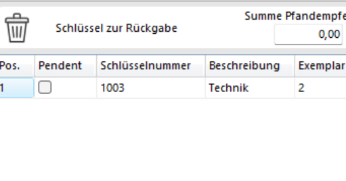
Double-click the key to return. It is added to the middle section as KEY FOR RETURN.

If you accidentally selected the wrong key, click REMOVE ITEM FROM LIST (trash icon) to remove it from the return list.

Post the return by clicking BOOK.

Click KEY LOSS in the toolbar or press F7. The KEY MOVEMENTS – LOSS window opens.
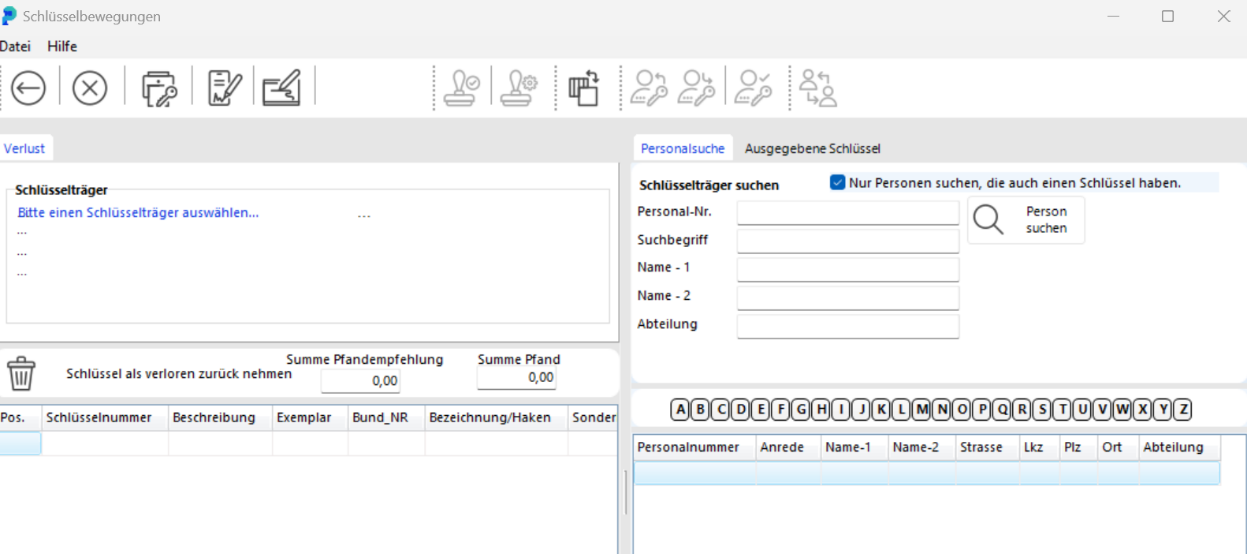
Enter the first letters of the key holder's last name in NAME – 1. Click SEARCH FOR PERSON.
Alternatively, click ISSUED KEYS and enter the key number. Click SEARCH FOR KEY to see all holders of that key.
At the bottom, double-click the key holder. Their data is loaded.

All keys held by the key holder are now listed at the bottom.
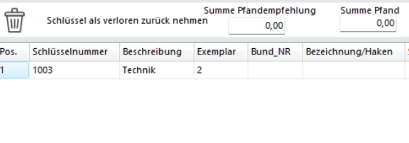
Double-click the lost key. It moves to the KEYS RETURNED AS LOST list.

If you selected the wrong key, click REMOVE ITEM FROM LIST to remove it from the list.

In the ACCOUNT OF CIRCUMSTANCES field, record how the loss occurred. This is printed on the form but not saved in the database.

Post the loss report by clicking BOOK.

Click DAMAGED KEY in the toolbar or press F8. The KEY MOVEMENTS window opens.
Follow the same steps as for a key loss. The key receives the status Damaged.

In the ADMINISTRATION / PERSONNEL module, click ADD RECORD in the toolbar. The PERSONNEL window opens.
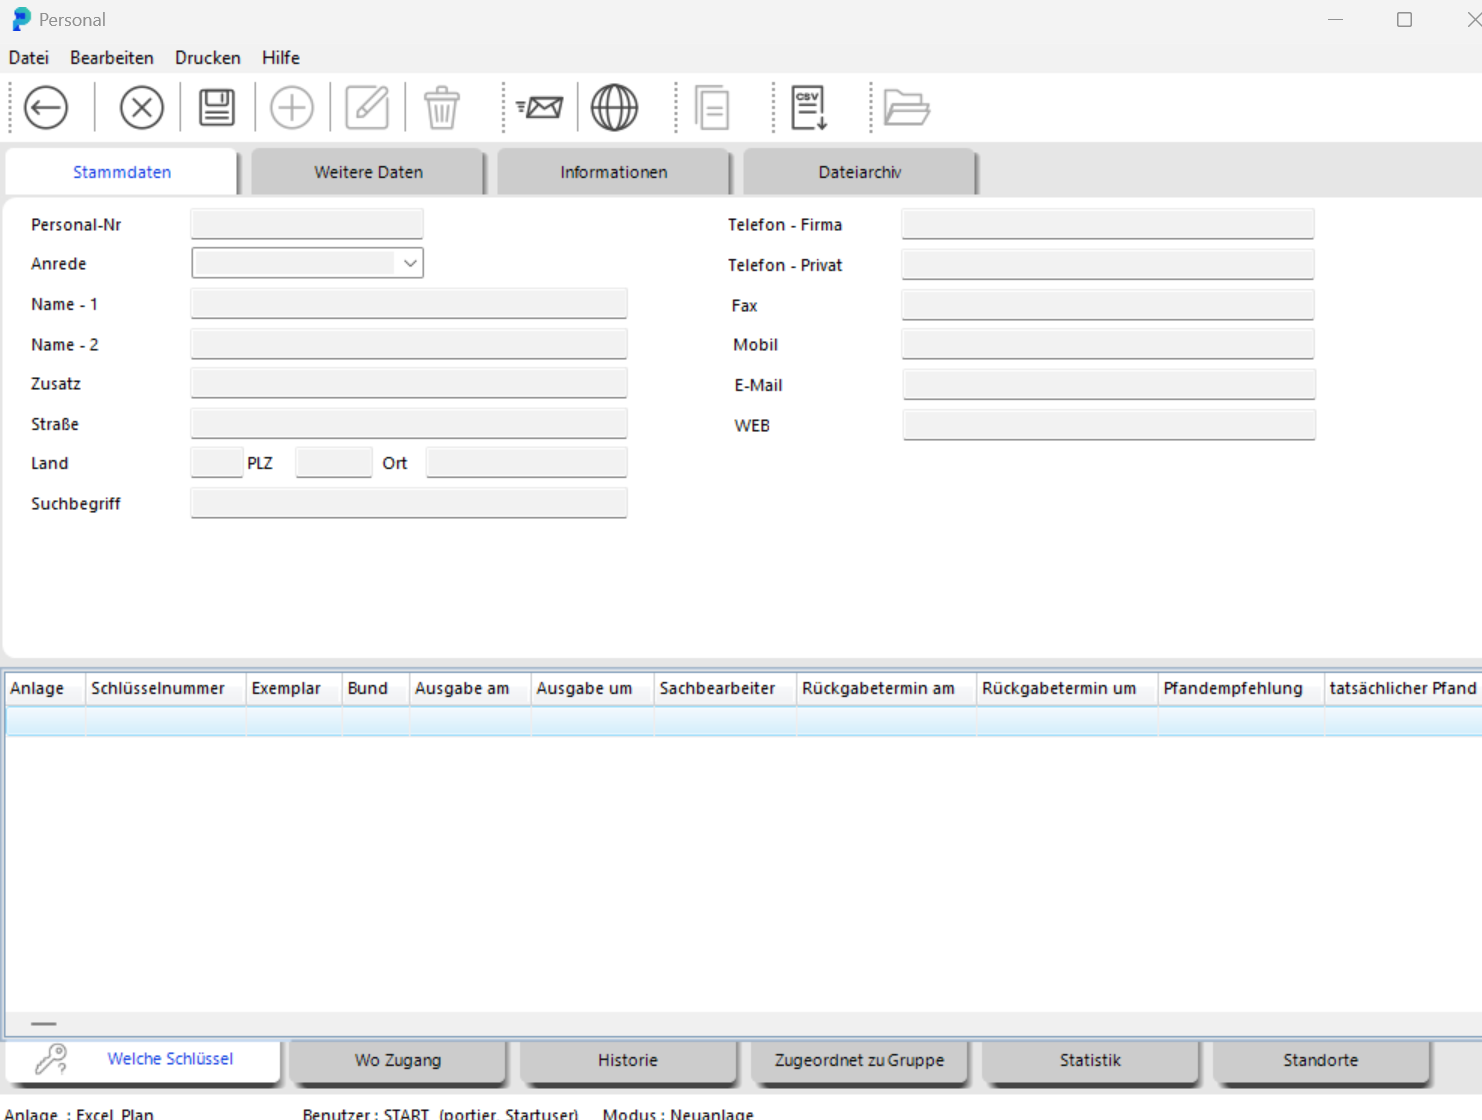
Enter the key holder's last name in NAME – 1. NAME – 2 is for the first name. We strongly recommend sticking with whichever field assignment you choose from the start.

Save by clicking SAVE. Note: You can complete the key holder's data at any time later.

Close the PERSONNEL window by clicking BACK. The person is now available as a key holder.
During key issuance you have another opportunity to create a new key holder. The ADD PERSON button opens the same form.
In portier®VISION, every cylinder has its own record.

In the ADMINISTRATION / CYLINDERS module, click ADD RECORD. The CYLINDER window opens.
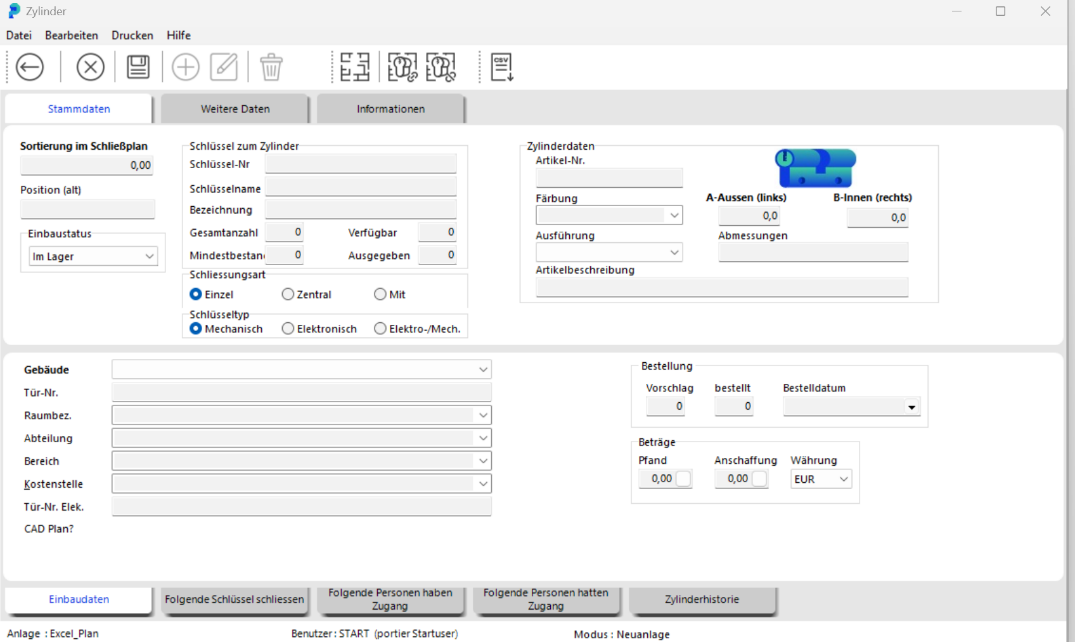
In the upper section KEY FOR CYLINDER, enter the cylinder data. In Installation Data, specify where the cylinder is installed.

Save by clicking SAVE.

Close the CYLINDER window by clicking BACK. The cylinder is now available. portier creates a key record with exactly the number of copies you entered in Total Quantity. The link between cylinder and key is the key number (also called the locking number).
WARNING: This key number can never be changed.
In the ADMINISTRATION / CYLINDERS module, enter the cylinder data (e.g. key number) in the CYLINDER tab and press ENTER. The cylinder appears.
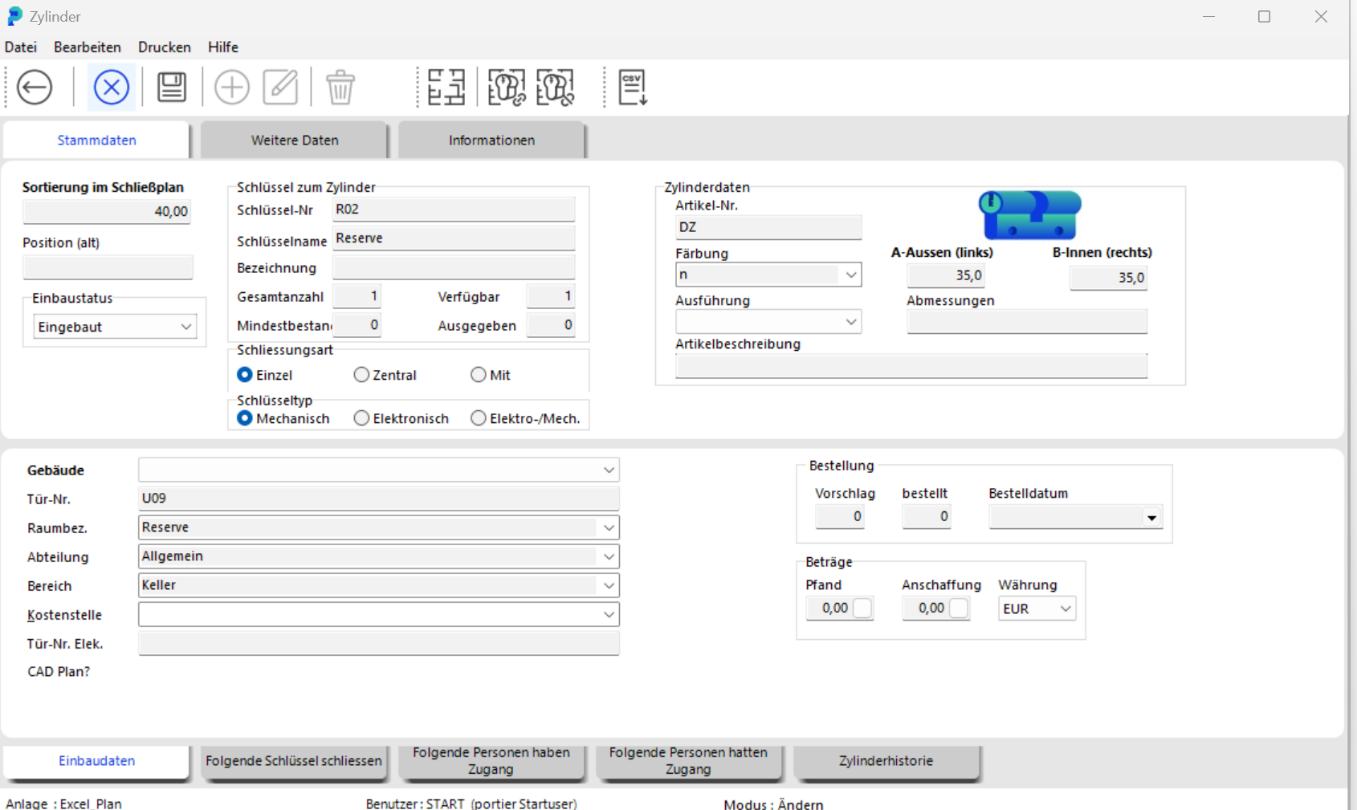
Double-click it to open the CYLINDER window. Find the Installation Data tab to edit the data.

Save by clicking SAVE.
WARNING: Key data cannot be changed in the cylinder form after initial entry. For changes, open the relevant key form in ADMINISTRATION / KEYS. You will need the appropriate permissions.