Note: If you are in a Building rather than an Installation, the REORDER and EXTENSION buttons are hidden in the ORDER MANAGEMENT module. A new order always refers to the current Installation.

Go to the ORDER MANAGEMENT module and click REORDER, or press CTRL+N.
Display existing orders by clicking SEARCH. To edit an existing order, double-click it. For a new order, click ADD RECORD. In both cases the REORDER window opens.
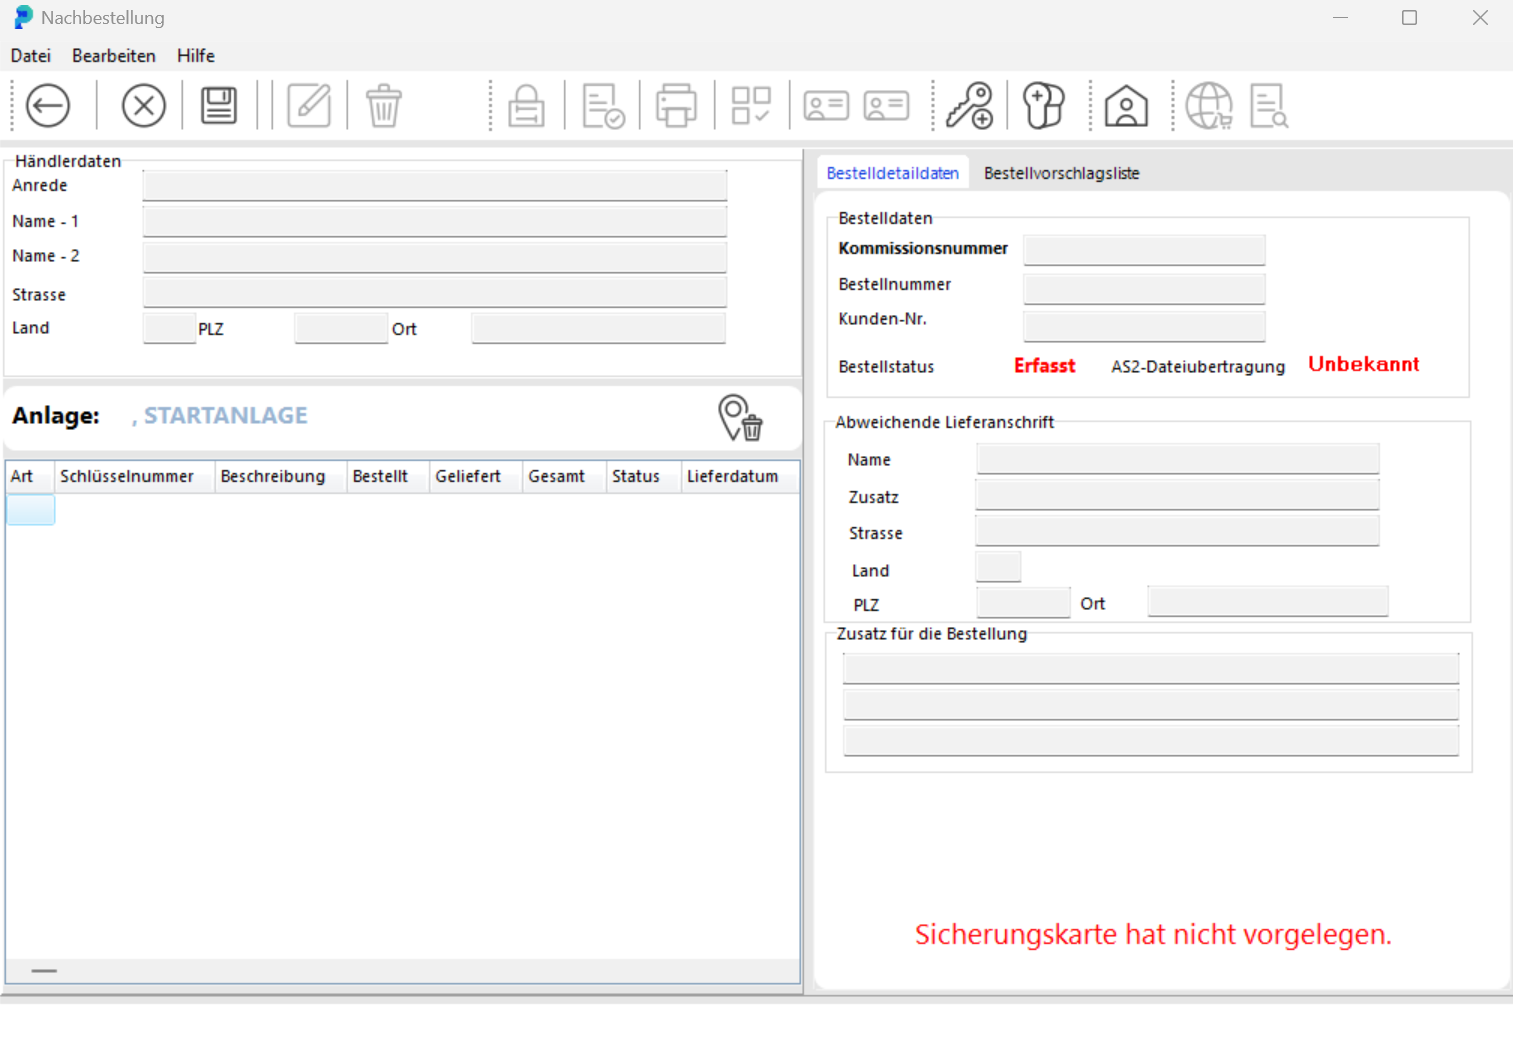

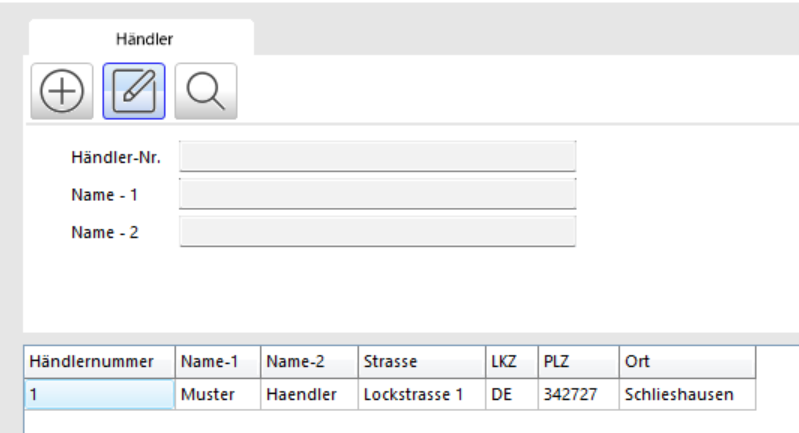
Here you edit an existing order or enter data for a new one. Import dealer data by clicking SELECT DEALER. In the DEALER SEARCH window, select the dealer and click ACCEPT SEARCH RESULT.
In the ORDER DETAILS tab, enter: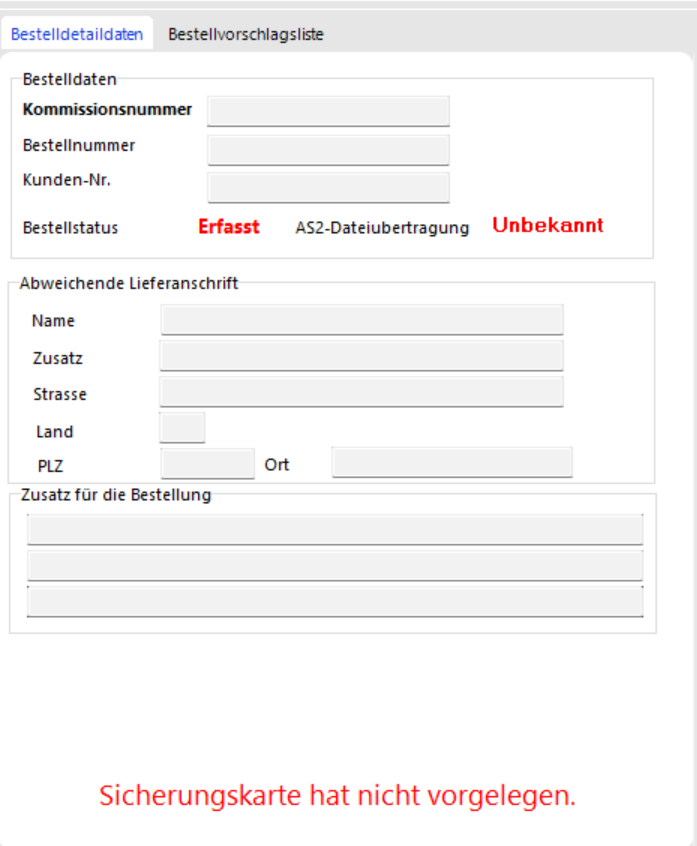
Order number (e.g. from your SAP system)
Commission number (if applicable)
Alternative delivery address (if applicable)
Notes for the dealer (if applicable)
To add order items, click ADD KEY or ADD CYLINDER.


In the KEY SEARCH or CYLINDER SEARCH windows, select the item you want to reorder.

Accept items by clicking ACCEPT SEARCH RESULT. They appear in the left section of the REORDER window.
In the ORDER PROPOSAL LIST tab you will find keys and cylinders flagged for reorder during daily operations (see Key Issuance). These are reminders only. To include one in the order, drag it into the order list while holding the left mouse button. To remove an item, click the trash icon — it returns to the proposal list.

Save your order by clicking SAVE.

Close the REORDER window by clicking BACK.
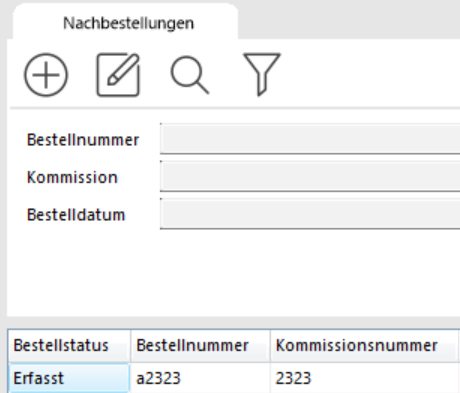
The order now appears in the overview with status Recorded and can be reopened at any time by double-clicking.

To finalise the order, click CLOSE ORDER and confirm the prompt. The order can no longer be changed after this point.
To print, click PRINT ORDER. A print preview appears.
Print the order form by clicking one of the PRINT buttons, depending on whether you want to print the current page or all pages.

To send the order by email, click eMail.